Showing posts with label how to. Show all posts

Make a Dollhouse Door

You'll need:
Paint
Scissors
Hot Glue Gun
Eyelet/Bead or anything similar for the door knob
Tape (optional)
Thin wood (something that you'll be able to cut through easily with scissors)
 
** I'll be using a 1/16D x 4W x 36L inch strip of wood by Balsa for the door and two 1/8D x 1/8W x 24L sticks of Basswood for the door framing.
 
All the wood pieces were found at Michaels.
 
 
Now it's time for the cuts.
 
~ Cut the door and two side frames 13 inches tall (the door is 13L x 4W)
~ Top frame 4.25L
~ Four rectangle pieces 4L x 1.5W
~ Two smaller pieces 2L x 1.5W
 
 
Cuts are done!  Okay, now take your glue gun and begin gluing the frames to the door.

 
Start gluing on the rectangle pieces, separating them evenly.  Then it's time for paint.

 
Once the paint has dried, use your hot glue gun to attach the door knob.

 
The final step is to place it in your dollhouse using your glue gun or tape.
 

Done!
8

DIY Dollhouse Diorama Wall Decor

Halle's office got a mini makeover and the wall's definitely needed the most attention!  I wanted to add stripes and did so using black electrical tape that I picked up from Walmart.  The tape is very thin with an extra smooth surface, so it was perfect for this project.
 
You'll also need: a ruler and a pair of scissors.
 
 
Getting Started
 
1. Measure the width of the wall.
2. Cut the electrical tape to match that width.
3. Place the tape on the wall starting from the top.
4. Repeat this process, leaving your desired amount of distance between each strip of tape (I placed them about an inch apart) until you reach the floor.
5. Done!
 
* Here's a snapshot of the office before. *
 
And after!  I used the electrical tape on both side walls, added scrapbook paper to the back wall, hung the memo board back up and switched out the mannequin.
 
 
The furniture was brought back in and the shelving unit was switched :)  I found it at the thrift shop and gave it a nice coat of brown paint.
 
 
The rug was cut down a little.  Now the only thing left to do is add more accessories!

11

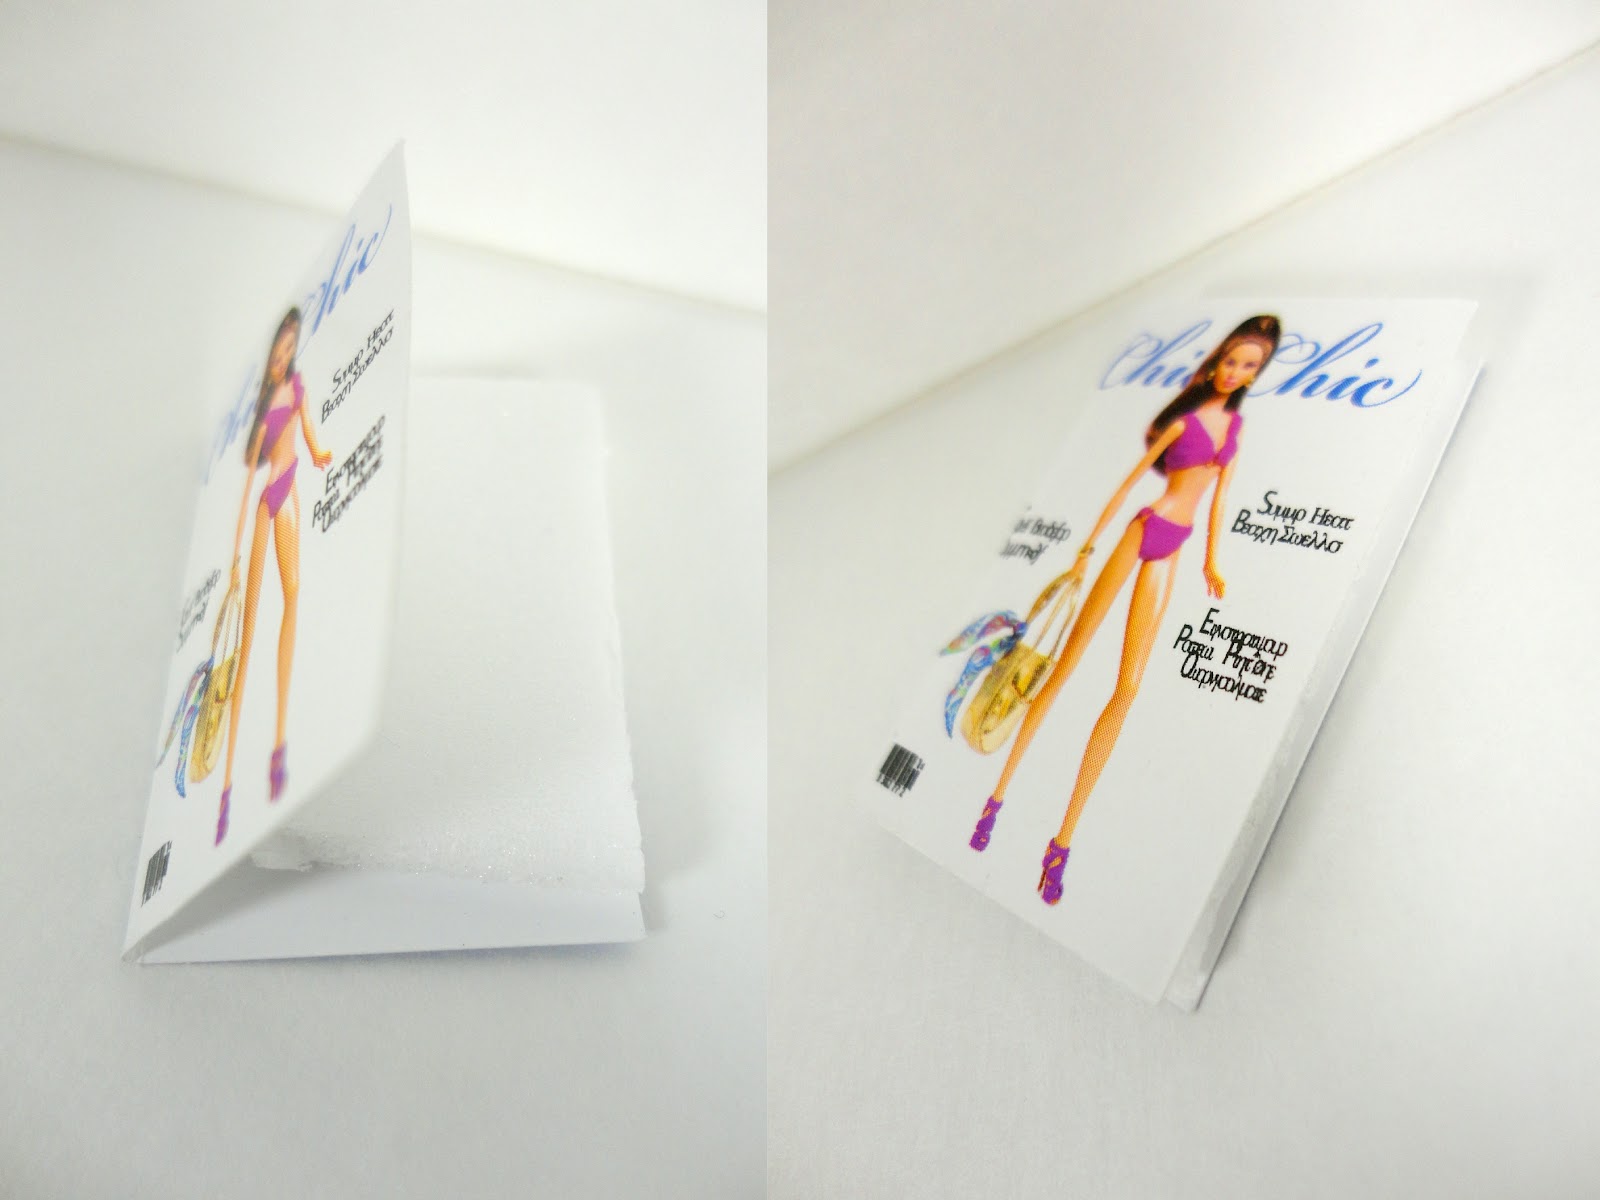
DIY Miniature Magazine Inserts

A quick and easy way to add dimension to the barbie miniature magazine covers.
 
 
* In addition to the magazine covers, you'll need white foam board, scissors and a glue stick. *
 
Getting Started
 
1. Cut the foam board to match the size of the magazine cover, but cutting it slightly smaller.
 
 
2. Now take your glue stick and rub glue on both sides of the foam.
 
3. Place the foam inside the cover and press down on both sides, to make sure it holds firmly.
 
 
And you're done!
 
8
Back to Top